Welcome to Owll! To help you better experience this AI note – taking assistant, we’ve compiled the following frequently asked questions. They will assist you in making efficient use of the product’s features and resolving any doubts you may encounter during use.
1. Basic Product Usage Questions
Q1: Why is Owll called a “game – changer”?
A: Owll integrates functions such as AI audio transcription, intelligent summarization, and multilingual translation, breaking away from traditional note – taking and learning methods. Whether you’re a student recording class content, a professional organizing meeting minutes, or a content creator capturing inspiration, Owll enables efficient multitasking. It truly helps you “work smarter, not harder”, which is why users refer to it as a “game – changer”.
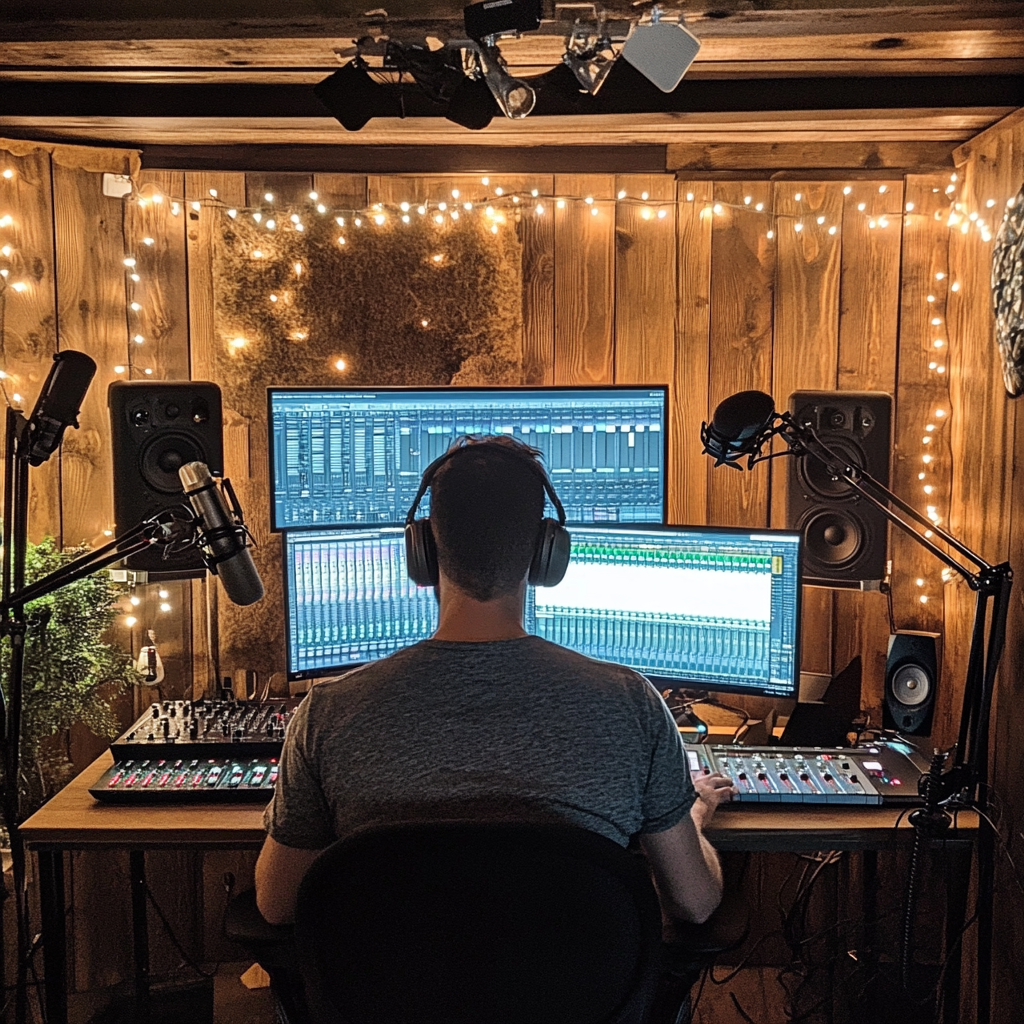
Q2: Can Owll work properly without professional recording equipment?
A: Absolutely! Owll comes with a noise – reduction and high – definition recording function. It’s compatible with the basic audio – capturing capabilities of various devices. Recording with the built – in functions of mobile phones, tablets, etc., can rival that of professional devices like voice recorders. Even without professional equipment, it can accurately transcribe and generate content in scenarios such as daily conversations and meeting speeches. If you want to further optimize, importing externally recorded audio files also allows for efficient use of Owll.
Q3: Is Owll difficult to operate?
A: Owll adheres to a user – friendly design concept. The interface is simple and intuitive, and the function operation process is clear. Many users report that even first – time users can quickly get started. You can easily use the transcription function to review important call contents without having to re – listen to them.
2. Core Function – Related Questions
Q1: How accurate is the AI audio transcription?
A: Owll’s AI transcription technology is outstanding. It can accurately recognize voice content, and some users even praise that “the lip – sync accuracy is amazing”. It supports more than 100 languages. Whether it’s daily conversations, meeting speeches, or lecture content, it can efficiently convert them into text, greatly saving manual note – taking time.
Q2: What are the advantages of AI – generated flashcards and quizzes?
A: The AI automatically generates flashcards and quiz questions based on recorded or imported content, matching the key learning points. This helps users such as students and researchers quickly reinforce their knowledge. For example, students can convert class recordings into review materials and use flashcards and quizzes to strengthen their memory, achieving the goal of “simplifying learning”.
Q3: Why does the technology stop after a few seconds when recording outgoing calls?
A: We’re very sorry for the inconvenience! This problem may be caused by various reasons, such as an unstable network, insufficient app permissions, or compatibility issues with the device. It is recommended that you first check the network connection, ensure that Owll has the necessary recording permissions, and try updating to the latest version. If the problem remains unresolved, please contact our customer service team ([email protected]) and we will assist you in troubleshooting.
Q4: How can Owll help with content creation?
A: Owll supports multiple scenarios such as meetings, lectures, and conversations. Whether you’re recording the inspiration from a brainstorming session or organizing interview conversations, the AI – generated summaries and content analyses can help content creators extract key information, discover potential creative points, and inspire creative inspiration.
3. Multi – device and File Management Questions
Q1: What file formats does Owll support for import?
A: App version: Supports the import of multiple audio formats, including m4a, aac, mp3, caf, flac, and wav audio formats.
Web version: Currently, it mainly supports the import of mp3 and wav format audio files, meeting the basic cross – platform content processing needs.
Q2: How to achieve cross – device synchronization?
A: You just need to log in to different devices with the same account, and Owll will automatically synchronize your recordings, transcribed texts, generated flashcards, and other content. Whether you’re using it on a mobile phone, tablet, or computer, you can access the latest data at any time. It acts like a “memory guardian” to help you manage important information.
4. Subscription and Discount Questions
Q1: What subscription discounts are available for new users?
A: New users can enjoy a 3 – day free trial of all functions to fully experience the powerful performance of Owll. After the trial period, you can choose a weekly subscription (7.99 USD) or an annual subscription (69.99 USD). The annual subscription is more cost – effective than the weekly subscription. On average, it only costs 0.19 USD per day, allowing you to continuously enjoy the convenience of efficient learning and work.
Q2: Can I get a refund after subscribing?
A: If you have questions about the subscription service or need a refund, you can refer to our refund policy (check the details in the “Help Center” on the official website). If you meet the refund conditions, you can submit an application through the customer service channel, and we will handle it in a timely manner.
If the above content doesn’t answer your questions, feel free to contact us at any time through the official website’s online customer service or email ([email protected]). We hope that Owll can continuously help you improve efficiency, overcome language barriers, and become a powerful assistant for your learning and work!